Can’t wait to move your dinners outside, complete with ice-cold drinks and hot grilled food? Same—bring on the deliciously charred meats, veggies, and desserts!
But great taste aside, operating the grill can be an intimidating job. The pressure of making sure the food is cooked to perfection over an open flame can throw off even a seasoned cook.
If it’s been a while since you manned the barbie, or if this is your first time wielding the tongs, don’t fret! Read on for expert grilling advice and insider tips and tricks from the WeightWatchers® cookbook, Year-Round Grilling. Follow it the next time you light up the BBQ and you’ll be sure to serve up an un-grill-ieveable meal!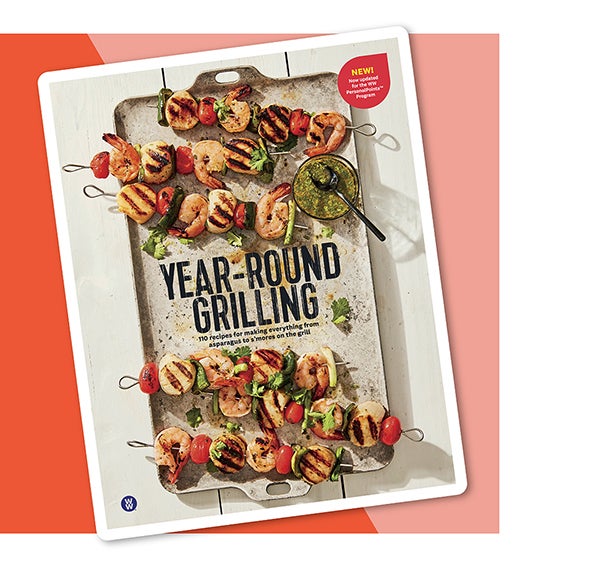
1. Invest in the right equipment.
“My grilling must-haves are a reliable meat thermometer and tongs,” says Sherry Rujikarn, WW food director. “With those two, I feel like I can do pretty much anything. Grilling baskets can also be a real lifesaver for fish or any smaller bits of vegetables,” she adds.
Make sure to grab a metal spatula and a meat fork too. (Rubber or plastic on the tips can melt over time and affect the longevity of a tool.) WW also recommends having a grill brush on hand, but use one that doesn’t have bristles as those tend to break off and can fall into your food.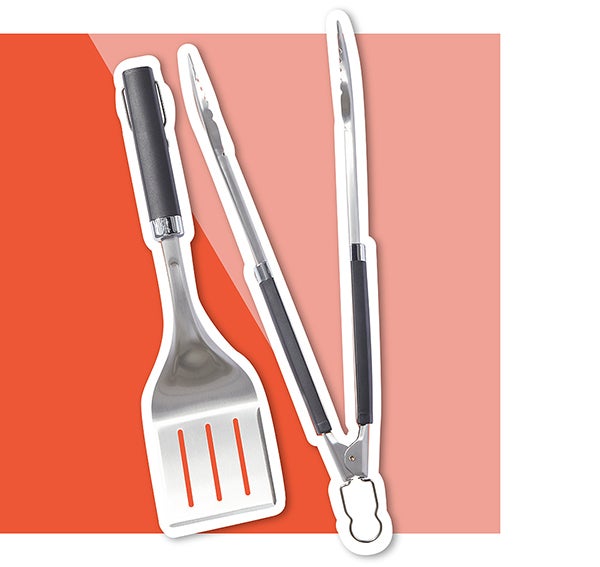
2. Keep the grill clean.
Unless your grill is new and untouched, there's a good chance it could benefit from a quick cleaning. The best time to clean your appliance is while it's still hot, Rujikarn says. "Either scrape it down right after cooking or, if you've left it dirty, clean it once you've preheated it for your next round of grilling," she advises.
3. Get in the (heat) zone.
The next step is to prepare the grill for direct heat, indirect heat, or two-zone cooking. You can read more about these different heat zones in the cookbook, but here’s a quick explainer:
Direct heat: This is all of the high-heat grilling and cooking that happens directly over the heat source (think searing and those signature grill marks).
Indirect heat: Grilling off to the side (instead of directly on top of) of the heat source, usually for a longer amount of time.
Two-zone cooking: A combination of direct heat and indirect heat. This is a great way to grill when you’re cooking different foods that need time at different temperatures. Set up one area for direct heat and another area for indirect heat. Direct heat will get you those nice grill marks. Then use the cooler side of the grill to finish cooking.
4. Add flavor, not Points®.
You can add a burst of flavor (without going over your Points Budget) before and after you grill. Prep chicken breasts with our Sesame Garlic seasoning (made specifically for grilling) or a dry rub. When grilling fruits like watermelon, peaches, or bananas, Rujikarn suggests tossing them with chopped mint for a sweet and savory combo after taking them off the heat. Play around with different citrus juices, vinegars, and herbs to find your favorite combinations.
5. Use a meat thermometer.
It’s tempting to constantly flip and move your food on the grill, but keep in mind that your food needs to sit to ensure it cooks all the way through. This is where that handy meat thermometer comes into play! Pro tip: If your food is sticking and refuses to budge, let it continue to cook for a few more minutes. When the food is ready to flip, it will do so without any resistance.
“For any cut of chicken aside from a thin cutlet or small tenderloins, it takes a decent amount of time to cook through,” Rujikarn says. “Do not start chicken on a hot fire; it will burn on the outside before cooking through inside! Cook it over medium or medium-low heat before moving it over to a hotter spot of the grill to brown the outside.”
6. Slightly undercook your meat.
Hear us out: Carryover cooking (when foods continue to cook even after being removed from their heat source) is a real thing. If the thermometer tells you your T-bone steak is about five degrees away from perfect, pull it and loosely tent it with aluminum foil, then let it rest for 10 minutes. Not only will your steak be the exact shade of pink you were hoping for, but by now, all the juices have had time to redistribute throughout the meat and won’t run out as you slice it.
7. Avoid flare-ups.
Flare-ups on the grill can cause an unpleasant burnt flavor. Avoid the blunder by trimming excess fat from meats and making sure there isn't an excessive amount of oil on your food. "Flare-ups happen when fat or grease hits the heat source and catches fire," Rujikarn says. Getting your food out of the line of fire until the flare-up dies down is the best way to take care of the situation fast!
Rujikarn also recommends holding back on the extra marinade or BBQ sauce before putting your food on the grill. The oils and sugars in these sauces can cause a flare-up and burn the outside of your meat. To avoid this, cook the protein most of the way through and brush the sauce on during the last few minutes to avoid burning.